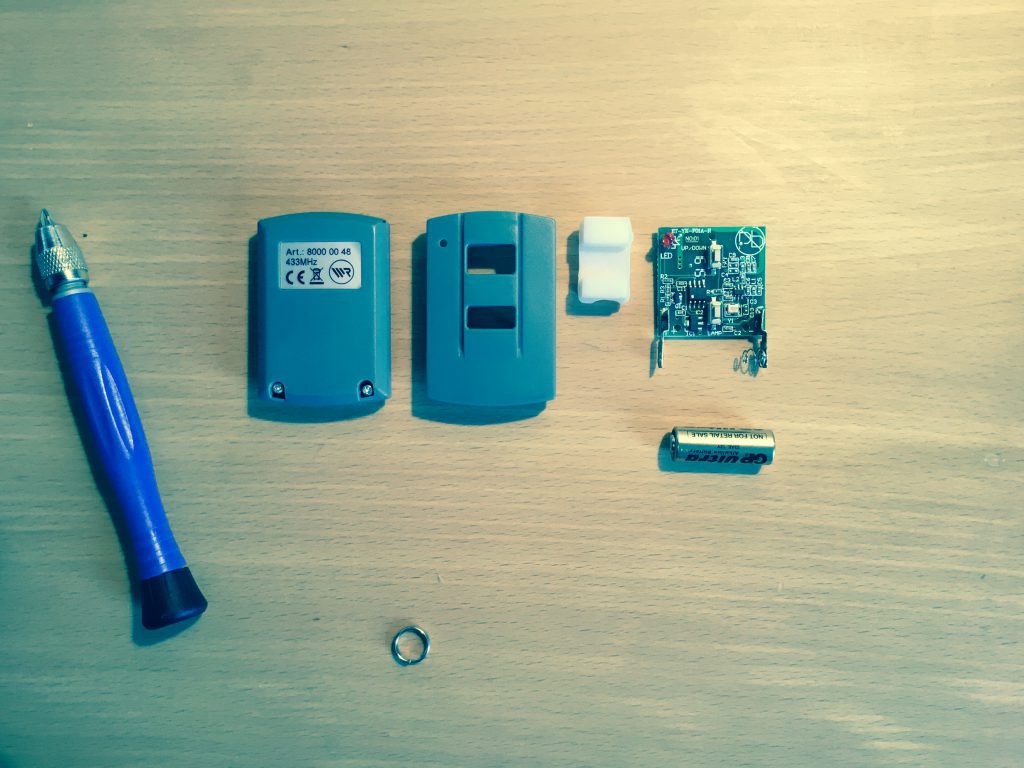
Recently I bought a garage door drive from Rademacher (S1-650N-1). The purchase I made in the opinion, to be able to control this through the normal 433Mhz modules on the Pi. That’s why I made sure when choosing the product, which is controlled with 433 Mhz. Unfortunately I had to learn that this is a rolling code is used after installation of the garage door. Thus, the control via the Raspberry Pi could I forget. After a little searching on the Internet I was then advised the base station of Rademacher to buy. But that was not really an option since these almost three times as expensive as the whole garage door itself.
So I needed a different solution. In addition I have once broken down the remote control. The built-in button, so my idea could be easy controlled via a relay. Thought, done. Is working!
The next thought was, I can not take out the battery and connect the power supply directly to the Raspberry Pi? Actually, I thought, but I am not an expert, it does not work. Because in the remote controller has a A23 battery installed. This consists of eight LR932 cells and provides 12V. In the end I simply tried and applied the remote control to the 5V source of Raspberry Pi. Is working!
I’ve also tried the 3.3V source, because then I could control the remote without a transistor or relay. However, this experiment did not work out. This source is too weak. While the remote control LED flashes, but the signal probably is not enough to reach the receiver, even if you test is right next to the door drive in the garage.
So back to the configuration with the relay, although it is a little more complicated.
After the “Prove of Concept” was successful, I made the whole thing a little bit more professional. First, the cable was soldered. The relay (I had no digital relay at hand) had me a little too clunky and the “clunk” bugged. So I ordered a couple of transistors. But I have chosen NPM transistors (MPS2222A).
Meanwhile the system is running for a few months and is very stable! I have also installed openHab at my home. Means, I can comfortably control the garage door via web interface or smartphone app – also via the Internet, no matter where I am in the world on the go.
Here are all steps to implement it:
A) Preparing Remote Control
First, take the remote control apart. Expose the board completely and take out the battery.
Here are the relevant contacts or places to which we want to solder cables:
to 1) + 2): On these two points, I soldered to one cable. Between 1) and 2) is the button to control the garage door drive. We will later bridge these two connections.
to 3) positive pole of the battery.
to 4) minus pole of the battery.
So, soldering iron: So it looks to me after I soldered all cables to the marked points. The points 3 + 4, I have bridged with a jumper.
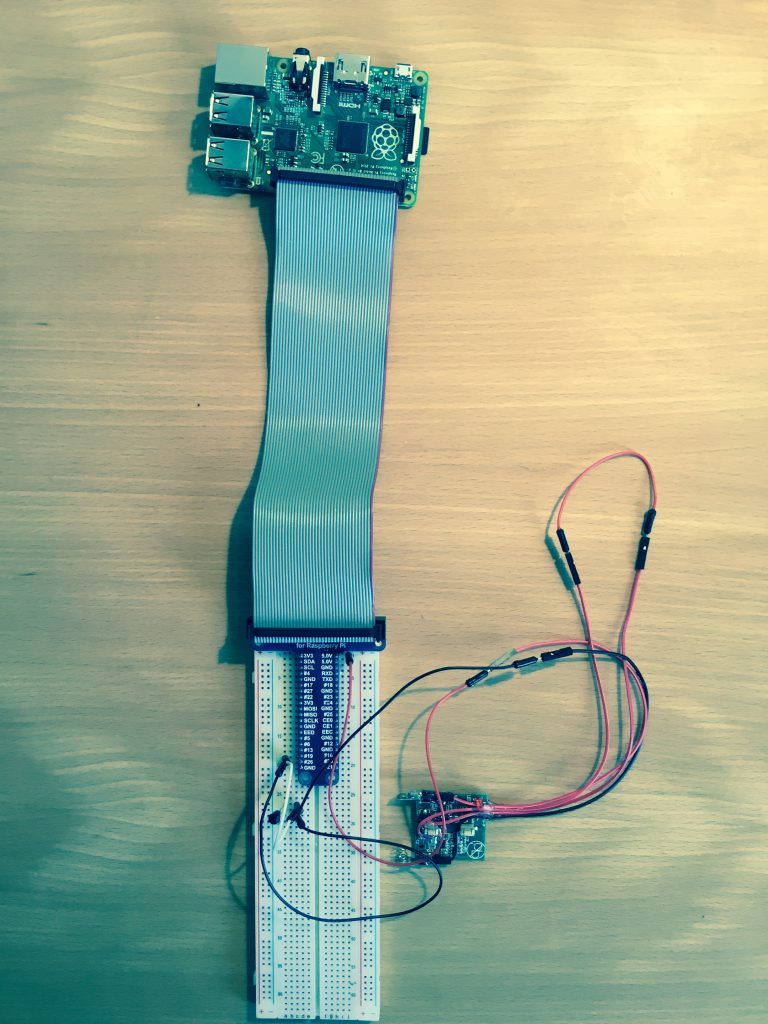
B) Cabling Raspberry Pi, transistor and remote on Breadboard
The remote control is now directly connected to the 5V source. For this purpose use the soldered to 3) cable.
The soldered cable to 4) connect to the transistor.
The middle contact of the transistor you have to connect to the pin 26 and last but not least the right contact of the transistor connect to GND.
This is how it looks like from the bird’s eye view:
C) Software testing on Raspberry Pi
With this small PythonScript I turn remote control on:
import RPi.GPIO as GPIO
import time
GPIO.setmode(GPIO.BCM)
GPIO.setup(26, GPIO.OUT)
GPIO.output(26, GPIO.HIGH)
time.sleep(0.5)
GPIO.output(26, GPIO.LOW)
GPIO.cleanup()
As you can see, I activate the remote control for half a second. It’s probably not necessary, but better safe than sorry.
D) openHab configuration (optional)
My openHab installation is running on another server, so I’ll call the Python script via SSH. My item configuration like this:
Switch Garage { exec=">[ON:ssh pi@pitest sudo python /home/pi/garage.py ] >[OFF:ssh pi@pitest sudo python /home/pi/garage.py]", autoupdate="false"}
Switch item=Garage label="Garage" icon="" mappings=[OFF="Oeffnen/Schliessen"]
Conclusion: As described in the beginning, the control of Rademacher S1 via the Raspberry Pi runs very smooth since months. I’ve never had a problem with it! And the control over openHab is wonderful:


Leave a Reply